Monday, July 25, 2016

Inspirational Quote Cards

I like the idea of people keeping cards for more than sentimentality. A good way to encourage that is to use inspirational quotes. I had to really dig for these quotes, though, because many are along the lines of "life is short, get off your butt", and who wants to receive that on a card?

So, these are the ones I came up with that I would actually give to people:


Wednesday, September 16, 2015

Dinosaur Fondant Press

For my son's second birthday, I wanted to make dinosaur cupcakes. I got a homemade fondant recipe online (which was way too sticky, so I won't post it), and bought these Cake Boss fondant presses. They were easy to use, and as you can see, the dinos came out nicely.


Tuesday, September 15, 2015

For the problem of the heavy clasp

Thin chains tend to have clasps that always end up in the front. One solution to this problem is to make a clasp that's meant to be seen.


Using silver wire, I made an S shape, spiraling both ends. The bottom spiral is attached tightly to the chain, while the upper one is loose enough to remove the chain in order to put the necklace on.


Tuesday, April 28, 2015

Picnic Kit

Here's a gift for springtime. This was inspired by mason jar kits I've seen for various things. This kit has lots of things for a picnic.


I've included outdoor toys (like bubbles), tupperware (I like this set, since it has a wide variety of sizes), and a gift card to Whole Foods. You could also add plasticware or sunscreen.
I packed it in a basket, but you could use a mini cooler. The whole thing is wrapped with a vinyl tablecloth.


Saturday, April 25, 2015

Mother's Day

My mom has way too much stuff, so for Mother's Day this year, I wanted to make her something creative and useful. I made several different blank cards, and stamped some sentiments on separate pieces of cardstock to be added as she sees fit.

Don't you love my messy table?

I couldn't find a good gift box, so I cut and resized a tissue box, wrapped the cards and envelopes in tissue, and tied it with a ribbon.


After all that cardmaking, I couldn't bring myself to make an actual Mother's Day card (plus I don't have a sentiment for that--for shame!), so I just made a little tag.

Friday, December 5, 2014

Cute Kitty and Adorable Dino Knit Hats

As I waited for my son to arrive nearly a year and a half ago, I made him this hat:


Recently, I altered the design into a dinosaur vesion.:


These can be really simple to make. Start with a hat pattern that you're comfortable with. It can be knit, crochet, felt, or fabric, just as long as it fits well. If you don't want to bother making a hat, you can also use a purchased one.

I made the cat hat using stockinette stitch with a garter border.
For the dino hat, I used single ribbing with a garter border. I don't recommend using ribbing, since I had a really hard time decreasing it smoothly (i.e. it's not smooth at all), even after trying several methods.

Anyway, here comes the cute part. The ears and spines are made using a tutorial for a triangular shawl that I can't find on YouTube anymore, but here's the pattern for the spines specifically:
(I'm sorry I can't remember needle size, but they were quite small)

Begin with a slip knot on your left needle (like you would have to begin crochet)
Row 1: yo, knit 1
Row 2: yo, knit 2
Row 3: yo, knit 3
Continue this, increasing by one each row until you have 12 stitches. Then knit two more rows without yo or increase (so you'll have 3 rows of 12 stitches). Bind off, and you've got one spine. Once you have enough, just sew them on in as straight a line you can.

If you're making cat ears, sew them on with a slight curve to the center of each ear. This helps them stand up, and shapes them more like actual ears.

Saturday, November 15, 2014

DIY Envelope Template


Here's an easy way to make an envelope template to fit any card size. You'll need an envelope that's too big for the card, scissors, and tape (removable if you want to be able to resize the template).

Gently unfold the envelope.


Cut it into four pieces. It doesn't have to be exact, but cut so you cross somewhere near the middle.
I like to number the pieces before cutting to help keep things in order, but you don't have to.


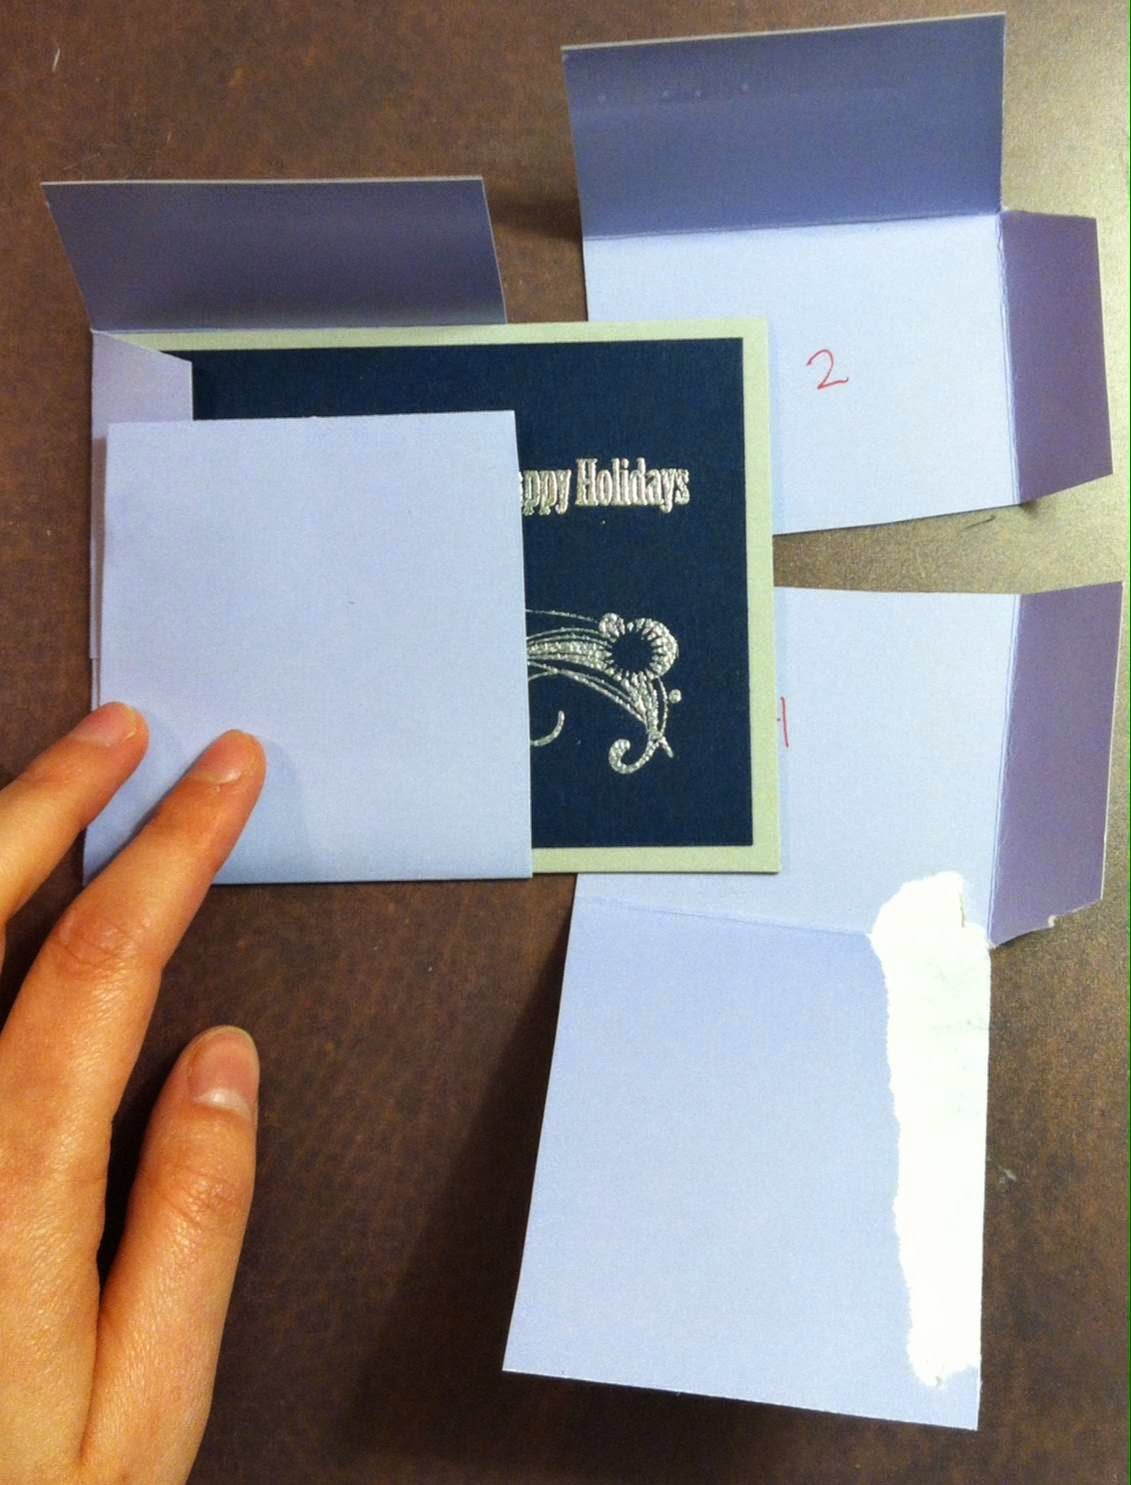
Place your card in center of the envelope pieces, and fold the envelope around it so it fits properly.
Tape the pieces in place. You should only need one piece of tape on the side without the flap.


Now you have a template. Trace on your paper, cut it out, and glue it together as the original envelope was.