Showing posts with label gifts. Show all posts

Monday, July 25, 2016

Inspirational Quote Cards

I like the idea of people keeping cards for more than sentimentality. A good way to encourage that is to use inspirational quotes. I had to really dig for these quotes, though, because many are along the lines of "life is short, get off your butt", and who wants to receive that on a card?

So, these are the ones I came up with that I would actually give to people:


Tuesday, April 28, 2015

Picnic Kit

Here's a gift for springtime. This was inspired by mason jar kits I've seen for various things. This kit has lots of things for a picnic.


I've included outdoor toys (like bubbles), tupperware (I like this set, since it has a wide variety of sizes), and a gift card to Whole Foods. You could also add plasticware or sunscreen.
I packed it in a basket, but you could use a mini cooler. The whole thing is wrapped with a vinyl tablecloth.


Saturday, April 25, 2015

Mother's Day

My mom has way too much stuff, so for Mother's Day this year, I wanted to make her something creative and useful. I made several different blank cards, and stamped some sentiments on separate pieces of cardstock to be added as she sees fit.

Don't you love my messy table?

I couldn't find a good gift box, so I cut and resized a tissue box, wrapped the cards and envelopes in tissue, and tied it with a ribbon.


After all that cardmaking, I couldn't bring myself to make an actual Mother's Day card (plus I don't have a sentiment for that--for shame!), so I just made a little tag.

Friday, December 5, 2014

Cute Kitty and Adorable Dino Knit Hats

As I waited for my son to arrive nearly a year and a half ago, I made him this hat:


Recently, I altered the design into a dinosaur vesion.:


These can be really simple to make. Start with a hat pattern that you're comfortable with. It can be knit, crochet, felt, or fabric, just as long as it fits well. If you don't want to bother making a hat, you can also use a purchased one.

I made the cat hat using stockinette stitch with a garter border.
For the dino hat, I used single ribbing with a garter border. I don't recommend using ribbing, since I had a really hard time decreasing it smoothly (i.e. it's not smooth at all), even after trying several methods.

Anyway, here comes the cute part. The ears and spines are made using a tutorial for a triangular shawl that I can't find on YouTube anymore, but here's the pattern for the spines specifically:
(I'm sorry I can't remember needle size, but they were quite small)

Begin with a slip knot on your left needle (like you would have to begin crochet)
Row 1: yo, knit 1
Row 2: yo, knit 2
Row 3: yo, knit 3
Continue this, increasing by one each row until you have 12 stitches. Then knit two more rows without yo or increase (so you'll have 3 rows of 12 stitches). Bind off, and you've got one spine. Once you have enough, just sew them on in as straight a line you can.

If you're making cat ears, sew them on with a slight curve to the center of each ear. This helps them stand up, and shapes them more like actual ears.

Monday, November 10, 2014

Card with a Pocket

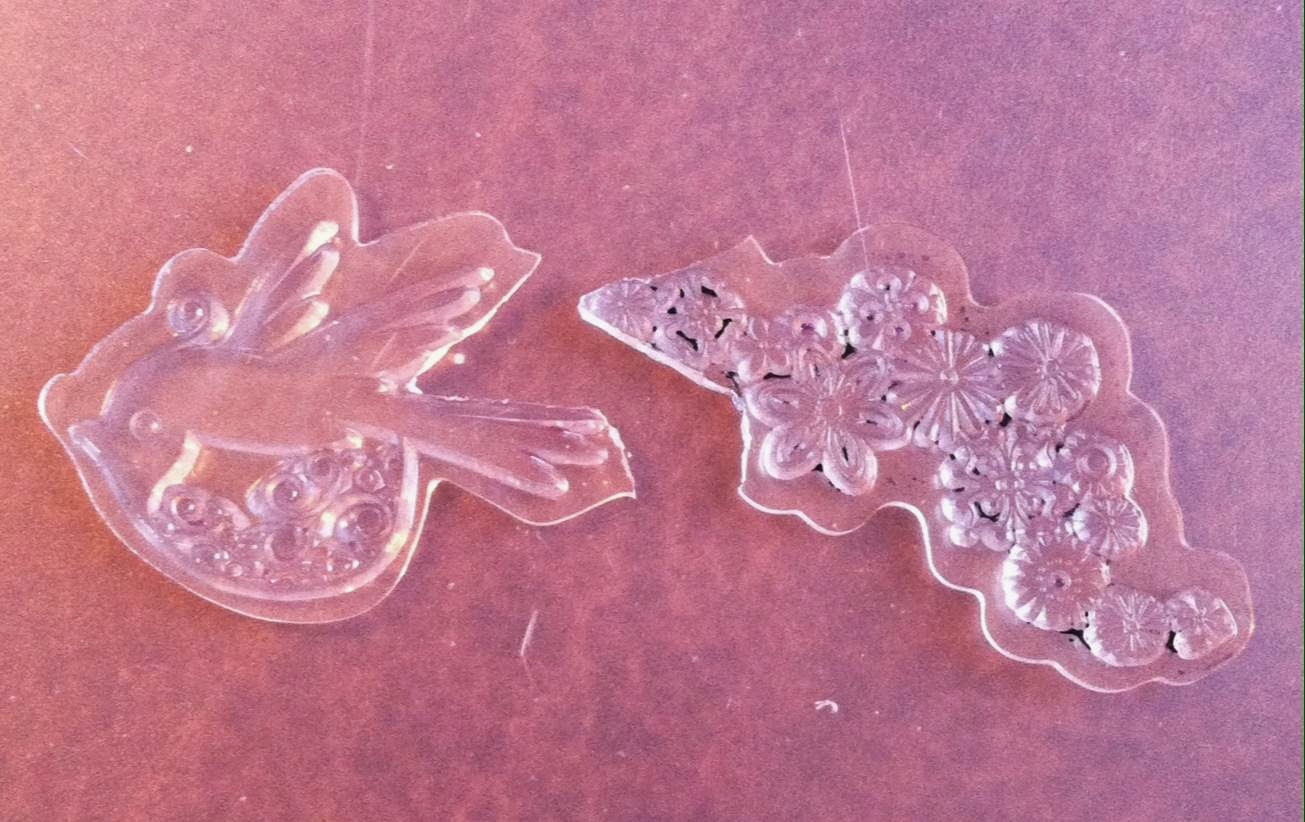
I like Inkadinkado's Sing Like No One's Listening stamp so much, but I used it as a magnet instead of a card, so I thought it would be nice to create a card that would hold it.


First I needed a pocket. I originally used a regular piece of paper to make a template, then recreated it with a piece of cardstock. It's basically just a piece that's folded in half, then both sides are folded back at the right size for the magnet, and taped. Here is the back of the pocket:


For the front of the pocket, I used an Inkadinkado bird (one I previously cut in two, but still works just fine), watercolor pencils, and a couple of jewels.


I watermarked the background of the inside of the card with my xmas carol stamp, to infuse a bit of holiday spirit.


For the front of the card, I used another Inka bird stamp, and did emboss resist with watercolors. The sentiment, by Momenta, was stamped with Versamark + pink pigment ink on one half + lavender dye ink on the other, since I don't have pigment of that. It's a bit messy, but I'm okay with it.


Saturday, November 8, 2014

Owl Window Gift Tag

Here's a gift tag I made for my nephew.


I embossed an owl from Inkadinkado on the inside of a small card.


Then I punched a piece of scrap with a 1inch circle punch. Using the punched piece, I decided where I wanted the window, and measured the distance from the top and side. Then I made marks on the front of the card to guide my punch.


I stamped "Who?" on the outside, and on the inside, wrote my nephew's name.


Friday, November 7, 2014

Happy Birthday Nana

It was my mother-in-law's birthday recently, so what better way to try out my new embossing stuff?

yeah, the picture's terrible


I originally wanted just purple on lavender, but I cut the purple wrong, so I layered it with black to make up for the mistake. The sentiment it stamped with lavender and then an offset black. I don't have a corner rounder, so I just used a pair of scissors. It wasn't easy.

The embossing was a bit tricky too. I wanted to use two different colors with one stamp, and I tried a few different ways I'd seen online, but none worked well for me, so I had to resort to surgery.

this bird is from Inkadinkado

I stamped and embossed the bird first, then lined up the leaves on the acrylic block, so when I removed the bird part the leaves would fit around the embossed bird. Surprisingly, it worked very well.


The inside required some cutting too. I don't have any flower stamps, so I cut some off another Inka bird.


I also added a couple of punched butterflies to the front, but I forgot to take a picture before I gave it to her. She did love it though!

And in case you ever wondered, this is what happens when you emboss black powder on white ink:


Sunday, November 2, 2014

Magnets

Since I've really gotten into all this papercraft crap, I've wanted to find other uses for the stamps. One thing I've come up with is magnets. Using flat magnets, like those you sometimes find with business cards, you can make very pretty images.

I got these large flat magnets in some craft kit ages ago, and had yet to find a use for them. So I took some cardstock that I liked, and Mod Podged it on. It's very pretty, despite my poor cutting job, but kind of impersonal.


So I pulled out this Winnie the Pooh stamp I had, and thought it would be great to make into a magnet for my niece to hang her artwork on the fridge. I used StazOn so the Mod Podge wouldn't make it run, and colored it with colored pencils.


Here's the finished magnet, plus two more that I made for others.