Friday, November 7, 2014

Happy Birthday Nana

It was my mother-in-law's birthday recently, so what better way to try out my new embossing stuff?

yeah, the picture's terrible


I originally wanted just purple on lavender, but I cut the purple wrong, so I layered it with black to make up for the mistake. The sentiment it stamped with lavender and then an offset black. I don't have a corner rounder, so I just used a pair of scissors. It wasn't easy.

The embossing was a bit tricky too. I wanted to use two different colors with one stamp, and I tried a few different ways I'd seen online, but none worked well for me, so I had to resort to surgery.

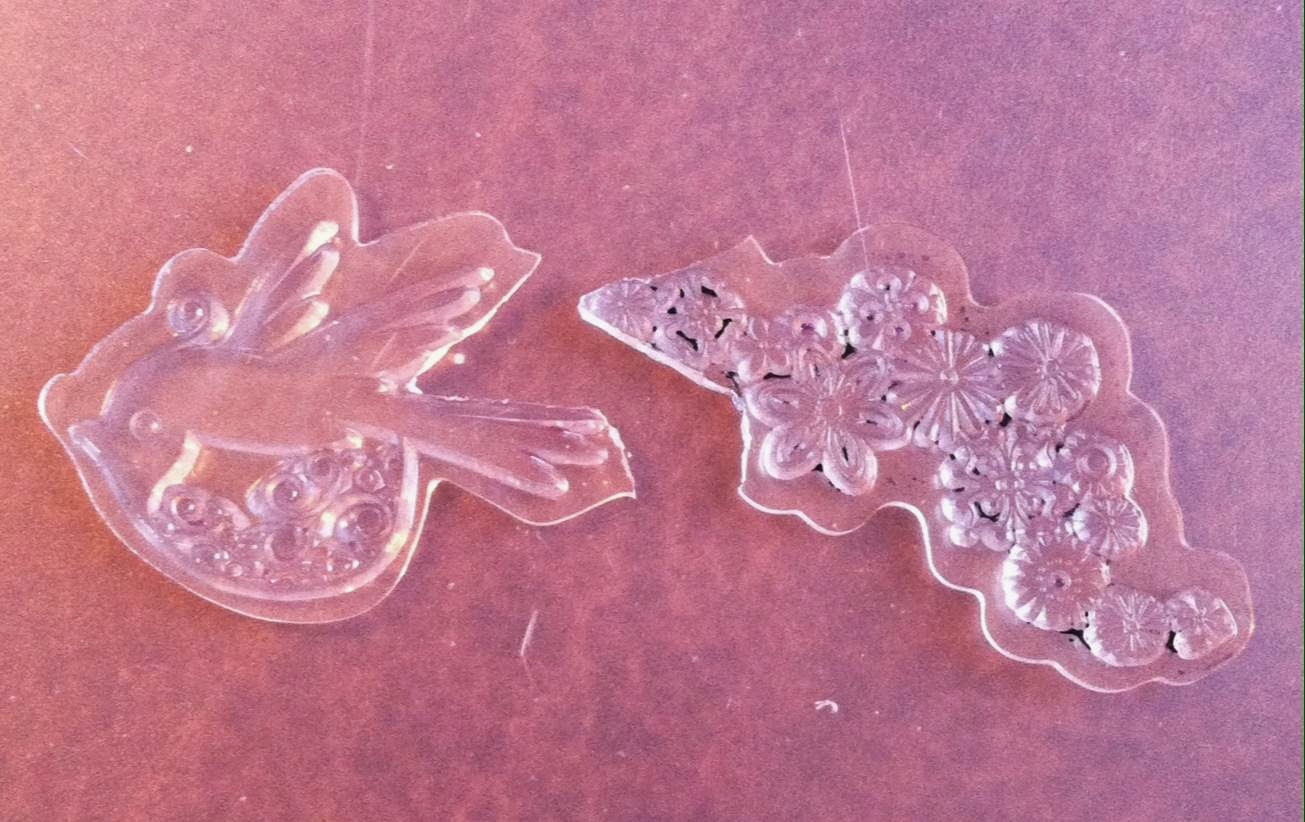
this bird is from Inkadinkado

I stamped and embossed the bird first, then lined up the leaves on the acrylic block, so when I removed the bird part the leaves would fit around the embossed bird. Surprisingly, it worked very well.


The inside required some cutting too. I don't have any flower stamps, so I cut some off another Inka bird.


I also added a couple of punched butterflies to the front, but I forgot to take a picture before I gave it to her. She did love it though!

And in case you ever wondered, this is what happens when you emboss black powder on white ink:


Monday, November 3, 2014

Recollections Embossing Kit

I've been wanting to try heat embossing, but with all the equipment needed for it, I didn't think I ever would. Then I saw an embossing kit at Michaels by Recollections. I looked it up online to see reviews, but couldn't find anything. So I used a coupon, and bought it (original price was $40). It comes with a heat tool, six powders, six inks, and a funnel tray.


Colors: black, pink, silver, green, turquoise, and clear. The clear is the ink that looks yellow, and the powder that looks white.

So far, the inks and powders are nice, and the heating tool works well. Unfortunately, there is no anti-static bag / embossing buddy. But I just made one using this tutorial. I also didn't find the tray to be very useful, as the powder sticks all over it. Using coffee filters or a folded paper is much better. I will keep the tray and try it with glitter.

The bottom line is that it's a really good starter kit, especially if you get it cheap.
Also, here's my very first heat embossed image:


Sunday, November 2, 2014

Magnets

Since I've really gotten into all this papercraft crap, I've wanted to find other uses for the stamps. One thing I've come up with is magnets. Using flat magnets, like those you sometimes find with business cards, you can make very pretty images.

I got these large flat magnets in some craft kit ages ago, and had yet to find a use for them. So I took some cardstock that I liked, and Mod Podged it on. It's very pretty, despite my poor cutting job, but kind of impersonal.


So I pulled out this Winnie the Pooh stamp I had, and thought it would be great to make into a magnet for my niece to hang her artwork on the fridge. I used StazOn so the Mod Podge wouldn't make it run, and colored it with colored pencils.


Here's the finished magnet, plus two more that I made for others.


Saturday, October 25, 2014

Little Butterfly Card

This card is really more of a gift tag, but it's my favorite so far.


I began by brushing the front of the card with some yellow watercolor. I don't have many ink pads, but you could go that route too. Then on a separate piece of cardstock, I did a gradient from yellow to blue in watercolor. When that was dry, I stamped it with a butterfly from Inkadinkado. I cut out the butterfly, folded it a bit in the middle, and glued it to the card.


With the leftover watercolor, I used a Recollections butterfly punch, folded those cutouts the same way, and glued them in "random" positions. I finished by dotting iridescent glitter glue around the background (though you can't see it too well).


I made another using a blue background, and a pink and purple butterfly. They're really cute little cards.

Wednesday, October 22, 2014

Xmas Carol Card

Here's a more xmasy card. My second one ever.


Using gold craft paint and a makeup sponge, I painted the top and bottom. Once it was dry, I stamped the Have yourself a merry little Christmas stamp.


I then picked a red and gold cardstock portion, and traced some of the lines with gold glitter glue.


I made the holly by drawing leaves freehand, cut them out to make a stencil, then traced them onto sheet music, cut them out, and colored the edges with a dark green colored pencil.


For the berries, I had some black plastic berries that came in a flower arrangement that I randomly won at AC Moore. I brushed them with white glue, dipped them in red glitter, and let them dry.
Then I stuck everything together and that was it! Simple, huh?


Tuesday, October 21, 2014

A Card for Mom, and Cupcakes

For the past few years, I have made the tags for all my xmas gifts. This year, I"m going a step further and have gotten into actual cardmaking. This is one of my first.


For the front, I used a stamp that I've had for many years, along with printed cardstock. I colored Pooh and Piglet with colored pencils, and inked the edges of the stamped pieces. 


Inside, I used text stamps by Fiskars (cursive), and Kaisercraft. I'm not really fond of how the inside turned out, since the letters are spaced out so much, even though I trimmed down the extra space on each letter as much as I could.


For the hearts, I punched them out of some cardstock that looked like watercolor. Part of one heart faded to white, so I inked the edges of them all. In order to get the center of the curve, I used the edge of the ink pad.


On a side note, I recently took a Wilton cupcake decorating course at Michaels. It was lots of fun and I learned things that I never picked up by reading or watching videos. Here are my favorites:


Saturday, October 11, 2014

Paper Cup Wreath

All the cup wreaths I've seen were made by nesting the cups within each other, so I wanted to try to make one more like a starburst. I got almost all of the items at the dollar store. I used: paper cups, circular floral foam, colored tissue paper, thumb tacks, pins, and scissors.


I wrapped the tissue paper around the floral foam, tacking it in place, until the whole thing was covered.


Then I cut the cups in half long ways.


And pinned them to the foam through the bottom of the cup.


Below is the final wreath. In the end, I didn't even like it enough to use it, but maybe someone will run with the idea and make something better.